Before & After Series
A Gold Shank Repair
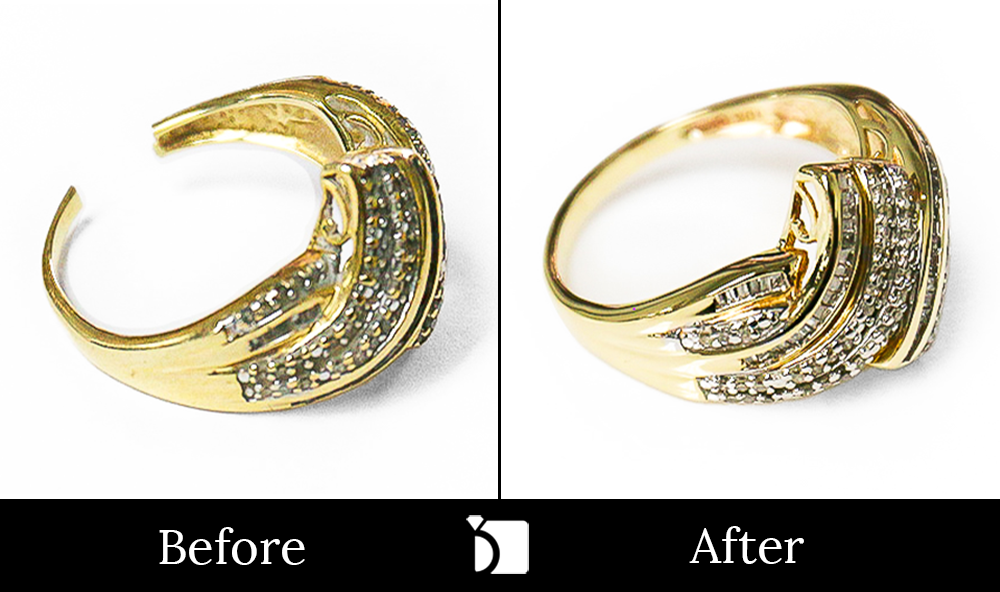
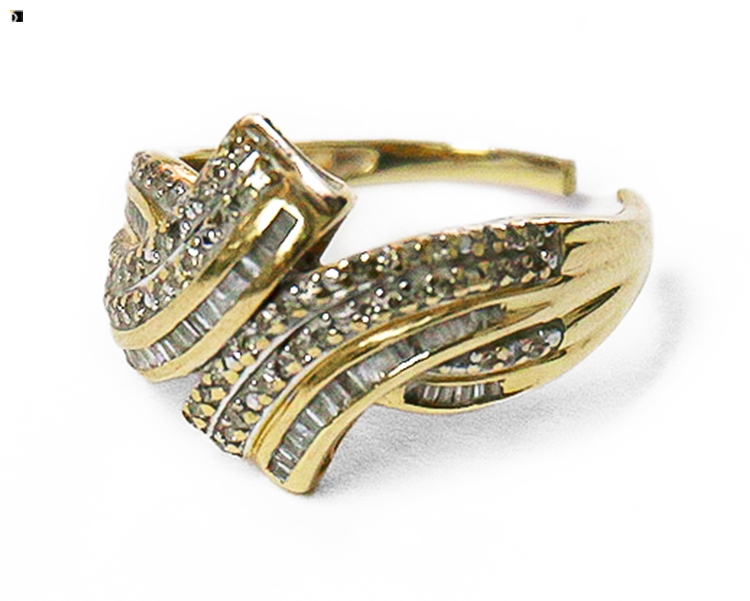
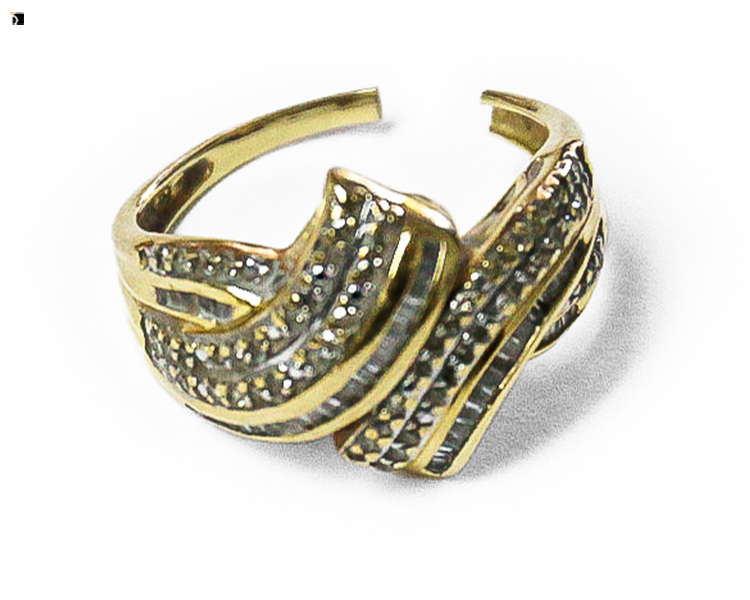
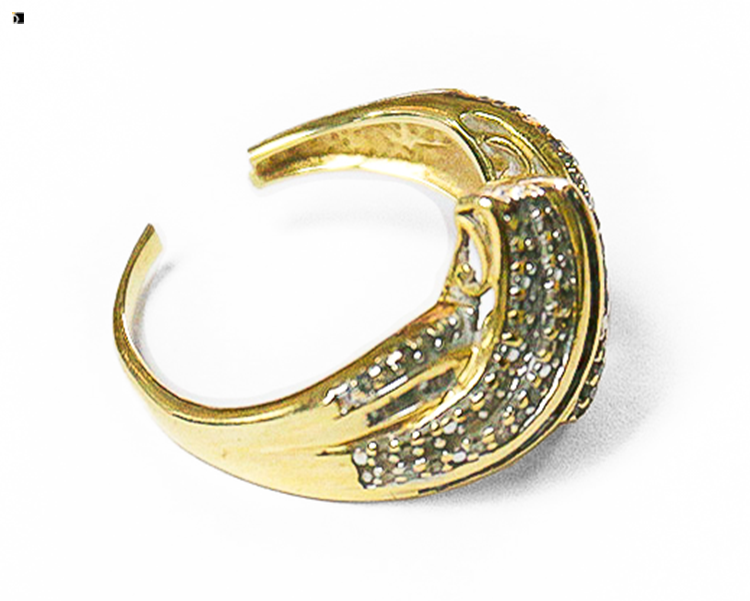
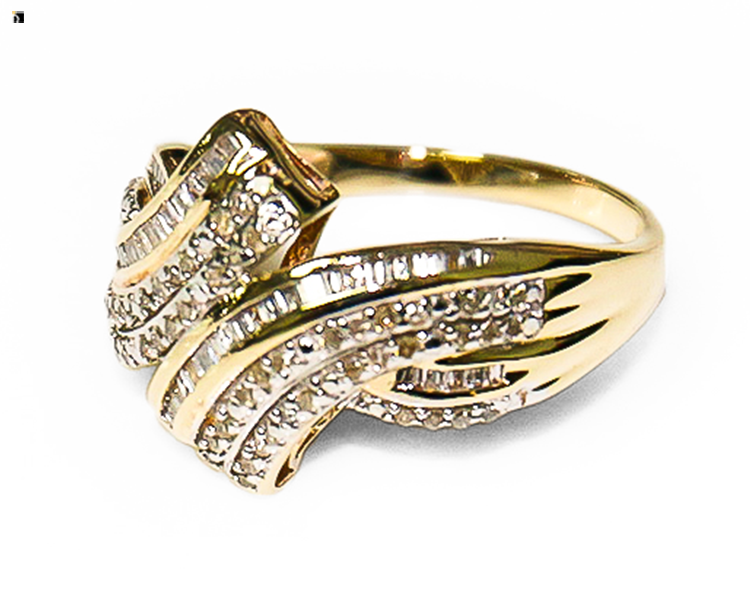
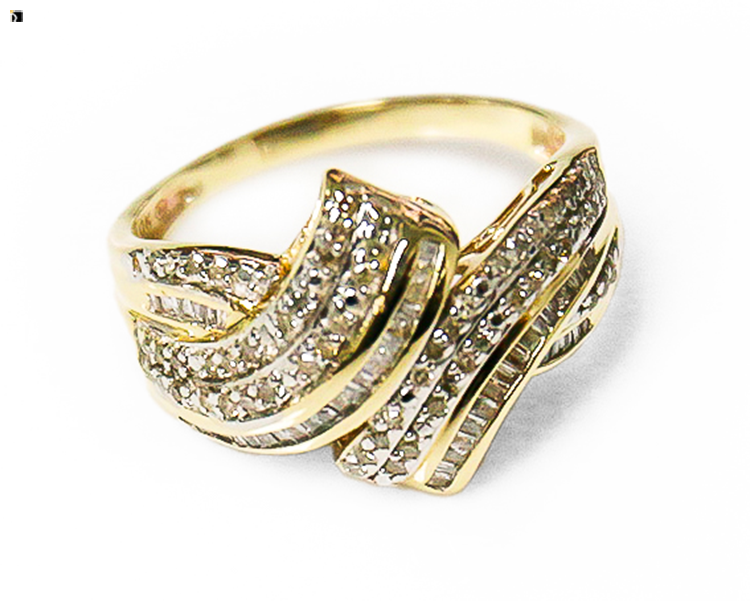
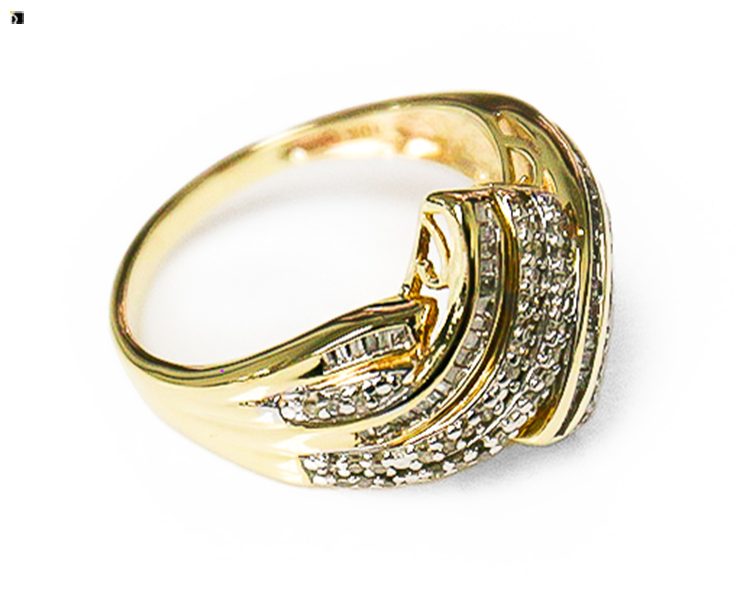
On this edition of the Before & After series, we have a 10k gold diamond ring with channel and prong set diamonds and a broken shank.
It is important to note that diamond gemstones set near the back of the shank can complicate the shank repair process. An important factor to consider is the number of stones, and how closely they are set to the repair and replacement area at the back of the shank. If the ring contains gemstones at the top and on the sides they can become unstable or loose.
For this ring repair, we had to:
- Perform a full shank replacement
- Check all of the gemstones to ensure that they were secure in their settings
It is then all finished off with our signature clean and polish and it’s good to go! This gold diamond ring was looking as good as new, to which the ring’s owner was sure to be very pleased.
If you would like to learn more about the ring sizing and shank repair process and the extra skill that it may require that your local jewelers may not possess, feel free to read into our blog, “The Ultimate Ring Resizing Guide.”
Like the results of this repair? Leave a comment!

(Before)
(After)
That’s All Folks!
Thank you for taking the time to visit the latest addition to our Before and After Series! Don’t worry, we will be showcasing many more of our major transformations very soon.
My Jewelry Repair
#MJRBeforeAndAfter
Before & After #101
