
Before & After Series
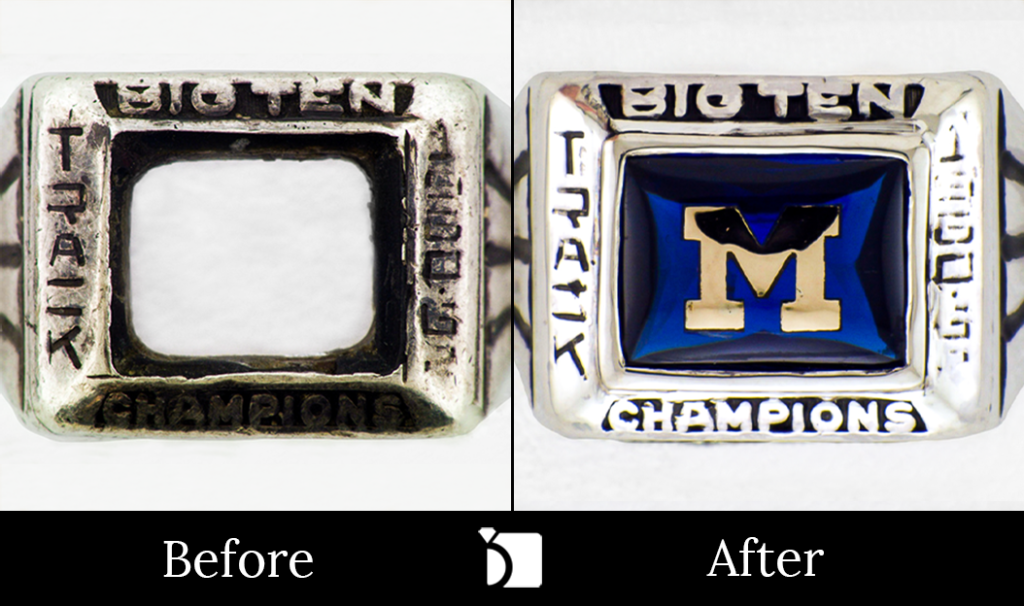
A Jaw Dropper of a Champion Ring Repair!
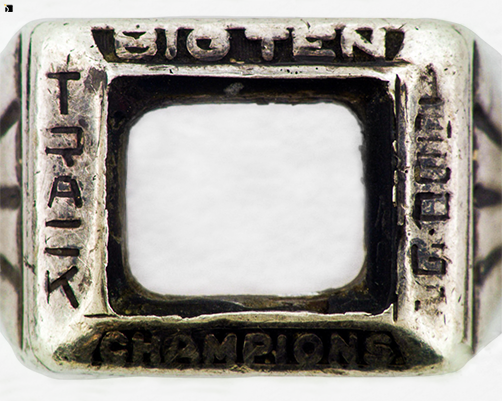
We have a very special project to share with everyone! This Track Championship Ring from the 1960’s had its gemstone crack and go missing.
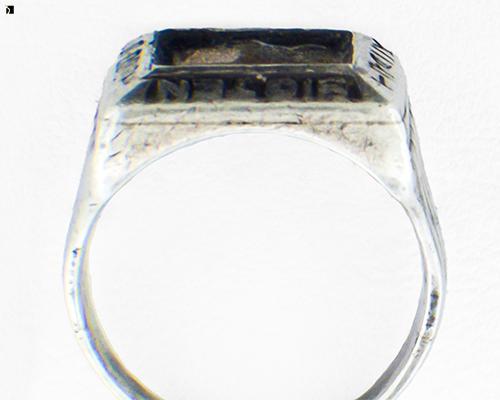
Unlike a regular stone replacement, this ring required a gemstone with a very special and unique cut to fit properly, and must also be properly engraved for the gold “M” symbol. However, the bezel (inner rim/mounting) was also worn out after decades of wear.
Here at My Jewelry Repair, we look forward to these kinds of projects as they’re a fun challenge! Let’s break it all down!
Rebuilding the Bezel
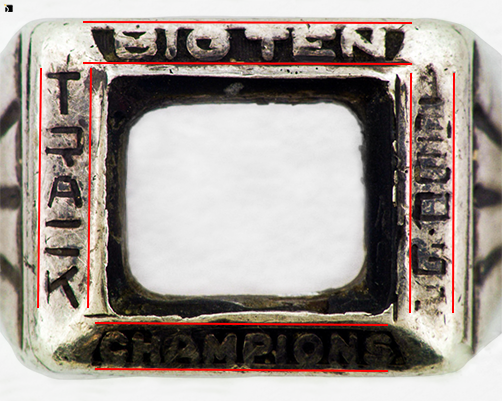
The first thing our Master Jewelers had to do was review the bezel for the best rebuilding solution.
We needed to rebuild the bezel to get the correct size before we could source the stone and have it cut to the correct size to fit the bezel.
It was also very important to keep the history of the ring intact, so this meant not touching the lettering around the bezel, adding to the difficulty.
Cutting the Stone
After the bezel was rebuilt, the next thing to do was source the proper gemstone, and cut it to the exact specifications of the bezel.
Cutting a stone as large as this one takes a couple of days, but must be perfect otherwise the risk of a loose stone occurs.
Once the stone is cut to match the bezel, the next step is hand-carving the perfect “M” into the stone.
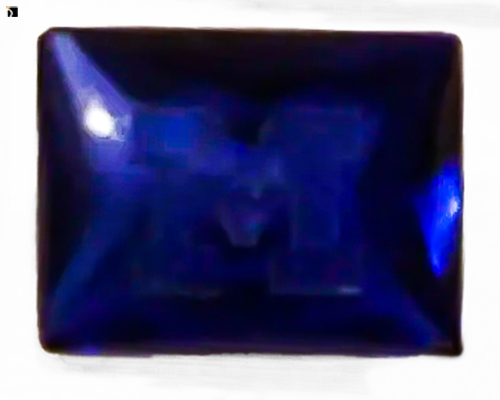
The Gold M
Next, with the “M” engraved into the stone, we were then able to hand carve a piece of gold to inlay into the stone. After a few tries, we decided to take this one step further, and 3D print one and cast it. We did this because we wanted to ensure the “M” comes out looking perfect before we set the stone back into the ring.
Finishing Up the Repair
With the custom aspects of the repair done, all that was left was the process of setting the stone, cleaning the ring, and reapplying the black finish to the engraved areas.
Conclusion
Now, while this project was a lot of fun to us, we get much more satisfaction when our customer is in love with the work:
I’m wearing the ring, and I’m astonished at your achievement. It looks better now than it did 55 years ago, when it was awarded to me… Truly, I did not expect it to be so remarkable.
What did you guys think? Like the results? Leave a comment! And please, if you have any jewelry or watch repair that others might have said no to, send it our way! From a vintage championship ring repair to a modern timepiece automatic movement, we have you covered!

(Before)
(After)


That’s All Folks!
Thank you for taking the time to visit the latest addition to our Before and After Series! Don’t worry, we will be showcasing many more of our major transformations very soon.
My Jewelry Repair
#MJRBeforeAndAfter
Before & After #44